Vanilla Pudding Cook and Serve: A Classic Dessert Worth the Effort
While store-bought pudding certainly has its place in the kitchen when you're short on time, nothing compares to the rich, creamy texture and pure vanilla flavor of homemade vanilla pudding. Made with just a few simple ingredients, vanilla pudding is one of the easiest and most satisfying desserts you can whip up. Whether eaten on its own or layered into parfaits and trifles, this comforting classic is sure to please both kids and adults alike. Here's a step-by-step guide to making and serving this sweet treat, collected by Recipeschoice.
Ingredients and Equipment
The ingredients needed for vanilla pudding are probably already in your pantry. You'll need:
- 2 cups milk (whole milk is best but 2% will also work)
- 1/2 cup sugar
- 3 tablespoons cornstarch
- 1/8 teaspoon salt
- 2 teaspoons vanilla extract
- Equipment: saucepan, wooden spoon, strainer or fine mesh sieve, measuring cups and spoons, 4-6 serving cups or bowls

Making the Pudding
-
Combine the sugar and cornstarch in a medium saucepan and whisk to blend well and break up any lumps of cornstarch. This will help prevent lumps from forming later.
-
Gradually stir in the milk. Make sure there are no remaining lumps of cornstarch at the bottom of the pan.
-
Cook the pudding over medium-high heat, whisking constantly, until it comes to a boil. Reduce heat slightly to a gentle simmer and continue whisking for 2 more minutes, until very thickened.
-
Remove from heat and stir in the salt and vanilla extract. The salt enhances the flavor of the vanilla.
-
For a smoother texture, pour the hot pudding through a strainer into a clean bowl, removing any bits of cooked starch. Or, just leave it in the saucepan if you don't mind a chunkier consistency.
-
Lay a piece of plastic wrap directly onto the surface of the pudding to prevent a skin from forming.
-
Allow the pudding to cool slightly, then cover and refrigerate for at least 2-3 hours until completely chilled before serving. The pudding will thicken further as it cools.
Homemade vanilla pudding takes just 15-20 minutes of active cooking time but the end result is far superior to instant pudding mixes that use thickeners like cornstarch. Using whole milk adds richness while vanilla extract boosts the natural sweet cream flavor. All you need is a little patience to let it cool completely before enjoying!
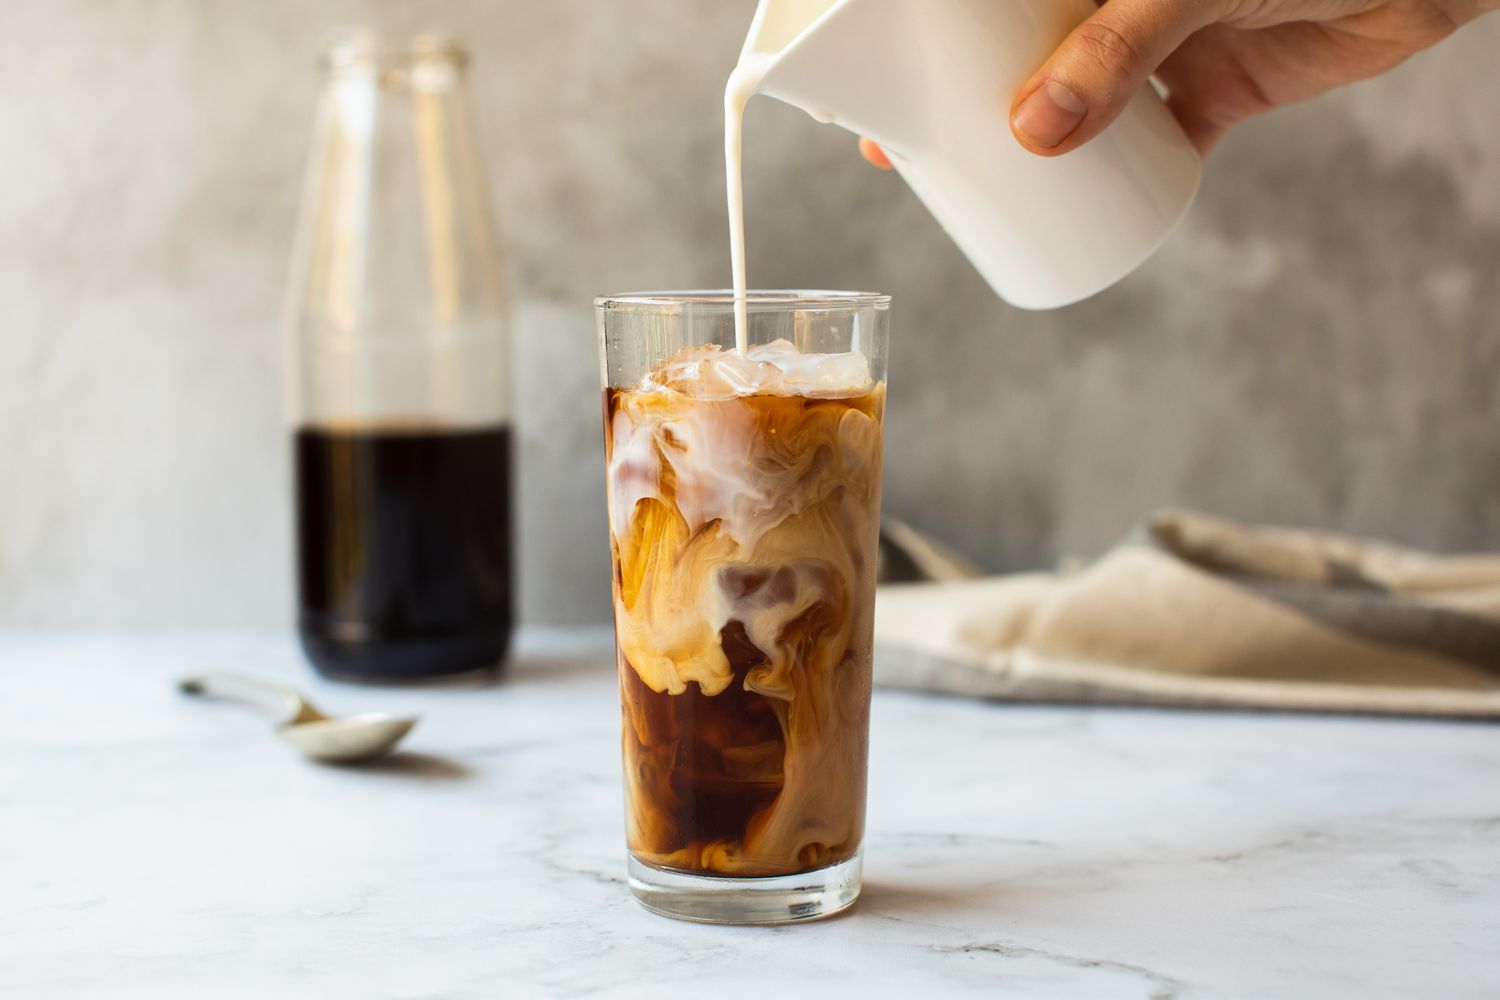
Read more: Homemade Cold Brew Coffee Recipes
Tips for Perfectly Smooth Pudding
-
Use a heavy-bottomed saucepan for even heating. Stainless steel works well.
-
Whisk continuously while heating to prevent clumping. Cook until very thickened.
-
For silkiest texture, pass hot pudding through a fine mesh strainer after cooking.
-
Adding a piece of plastic wrap directly on the pudding's surface before refrigerating prevents a skin from forming.
-
Extra vanilla flavor? Steep 1 split vanilla bean in the milk for 30 minutes before making the pudding.
Customized Flavor Variations
While plain vanilla is a classic, customized flavor variations allow you to get creative with your pudding. Here are some ideas to try:
-
Chocolate pudding: Melt 4 oz semisweet chocolate chips into hot finished vanilla pudding.
-
Fruit flavors: Add 1/2 cup pureed fruit like mangoes, berries or peaches after cooking.
-
Spice it up: Infuse milk with cinnamon sticks, nutmeg or cardamom before cooking.
-
Coffee pudding: Substitute 1/2 cup strong brewed coffee for 1/2 cup milk.
-
Orange dream: Add 1 Tbsp grated orange zest and 2 Tbsp orange juice after cooking.
-
Pep it up: Stir in 1/4 cup mini chocolate chips and crushed candy canes.
Serving and Storing Vanilla Pudding
Here are some ideas for how to enjoy your homemade vanilla pudding:
-
In parfaits layered with fresh fruit like berries and sliced banana.
-
In trifles with layers of cake or cookies, pudding and fruit.
-
With a dollop of fresh whipped cream or gingerbread cookies on the side.
-
With caramel, fudge or chocolate sauce for dipping.
-
Cups of pudding make a good portable snack.
Cooled pudding can be covered and stored in the fridge for 3-4 days. Be sure to lay plastic wrap directly on the surface before sealing to prevent skin. You can also freeze individual portions in an airtight container for up to 3 months. Simply thaw overnight in the fridge and stir before serving.
With just a few basic ingredients, vanilla pudding is always a comfort. Whether eaten straight, dressed up with mix-ins or topped with fruit, the sweet vanilla cream more than makes up for the short cooking time. Enjoy this timeless dessert on its own or create many more flavor combinations—it's truly an easy homemade treat worth making again and again.
Read more: Low-Carb Vegetarian Recipes: Delicious and Nutritious Meals

